Post by North on Jul 21, 2013 17:27:19 GMT -5
So I actually got a bit of motivation even after being swamped at work lately so I started on the rewind and took some before pictures and in progress of dismantling.
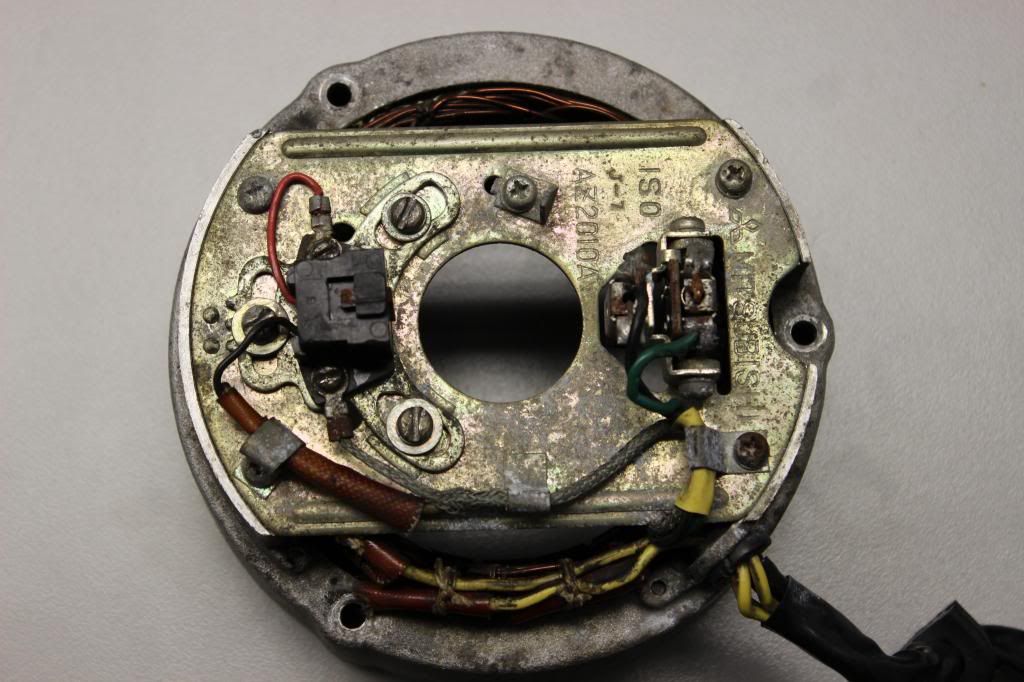
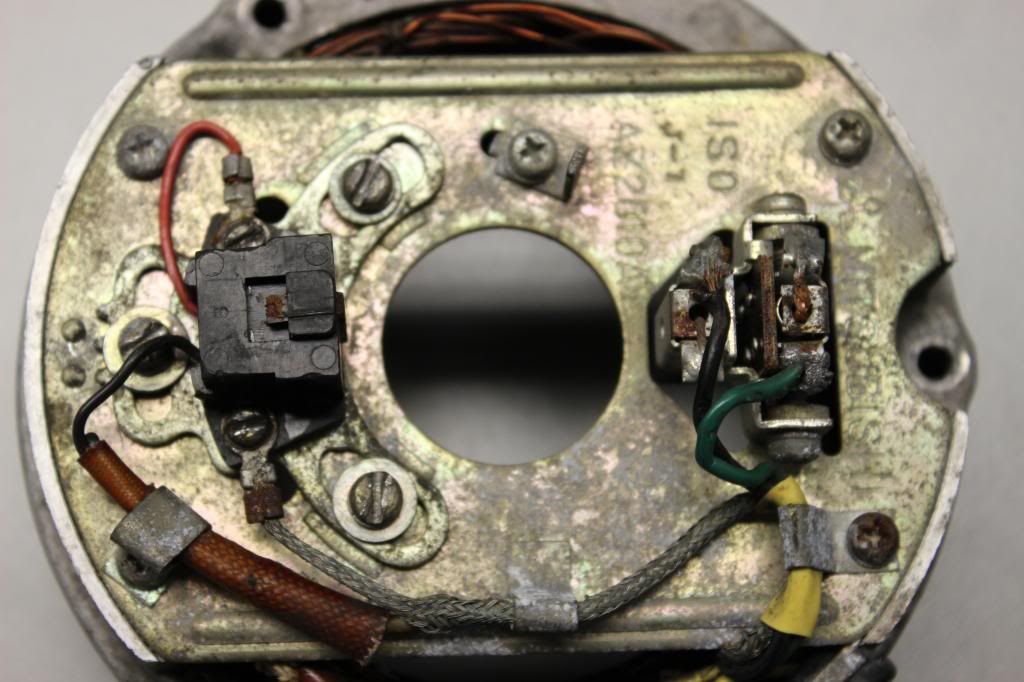
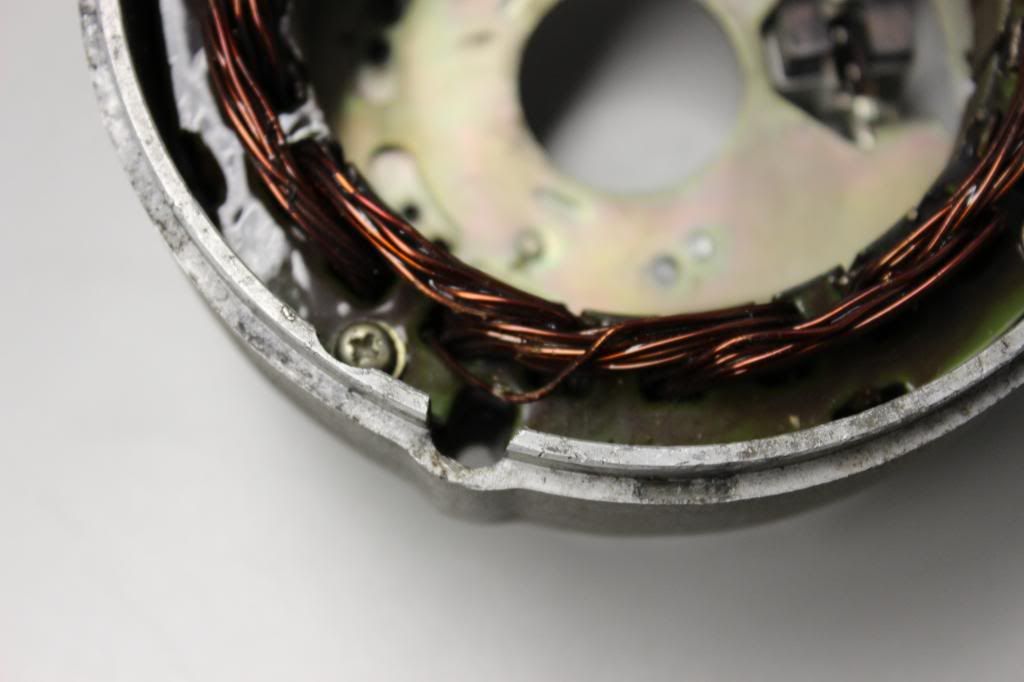
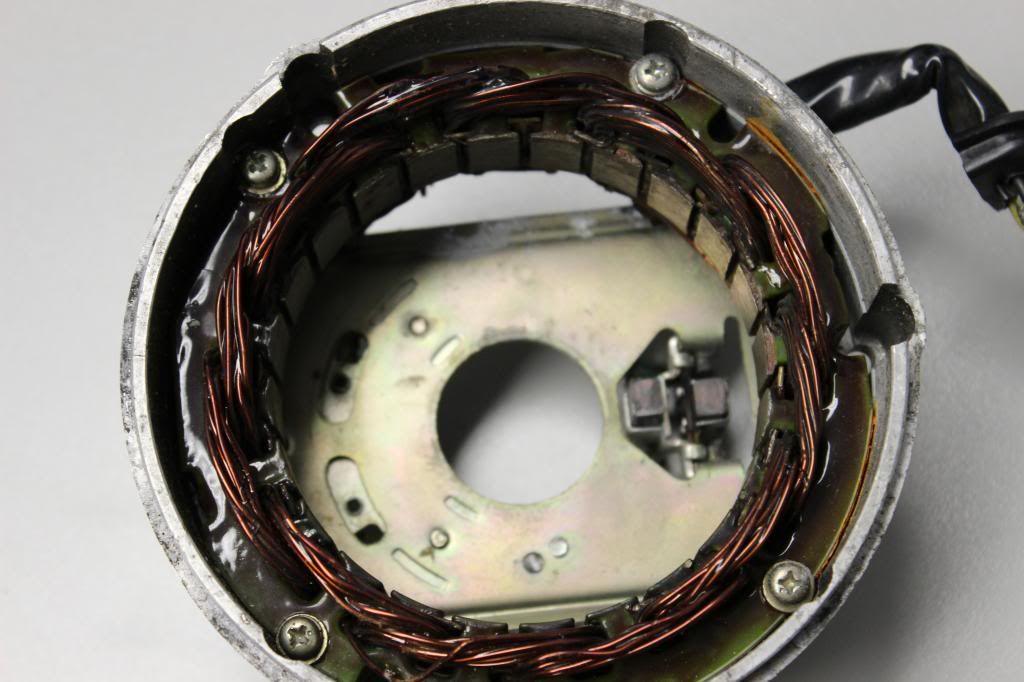

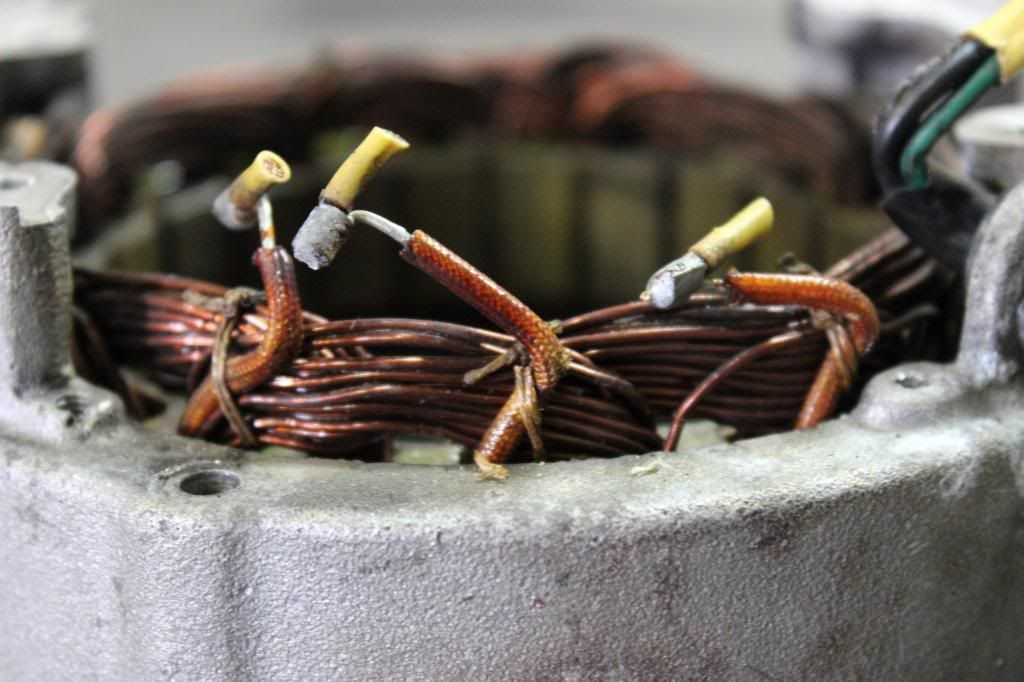
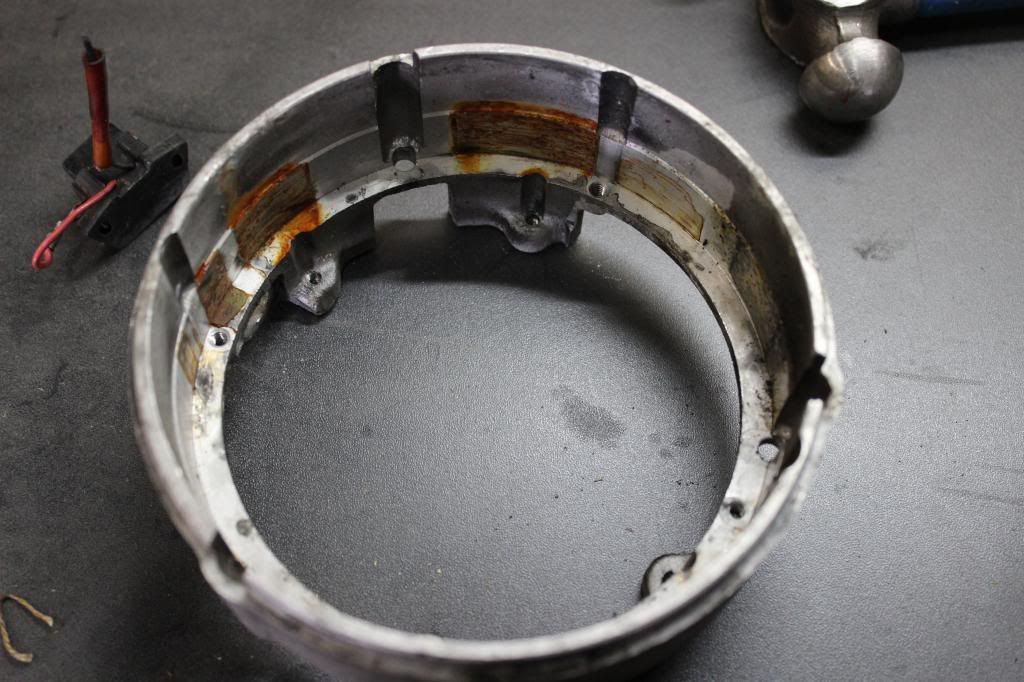
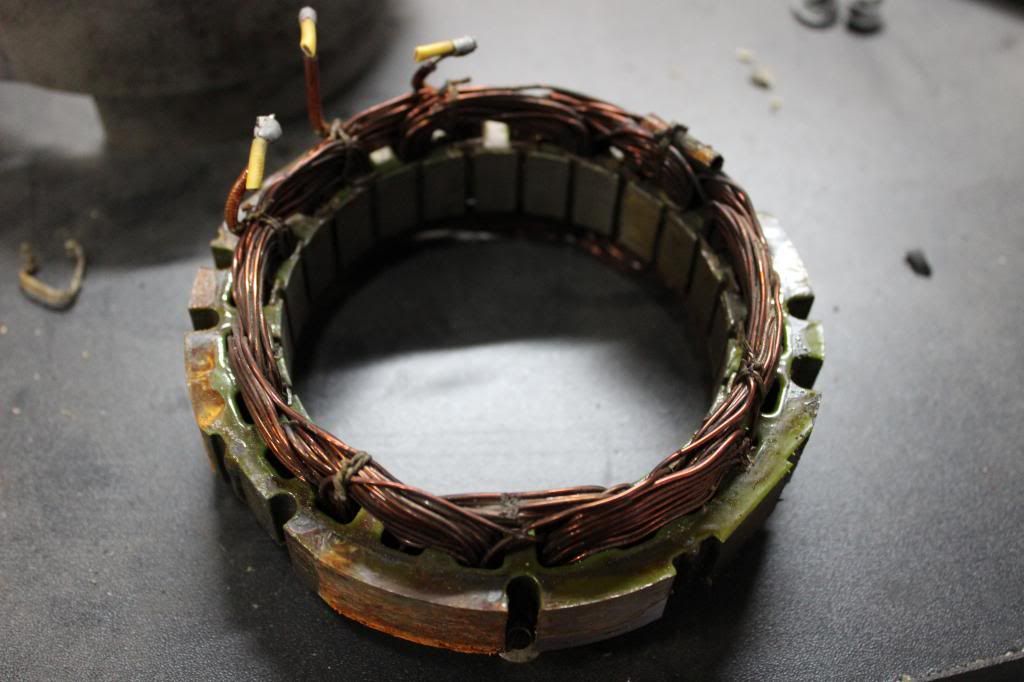
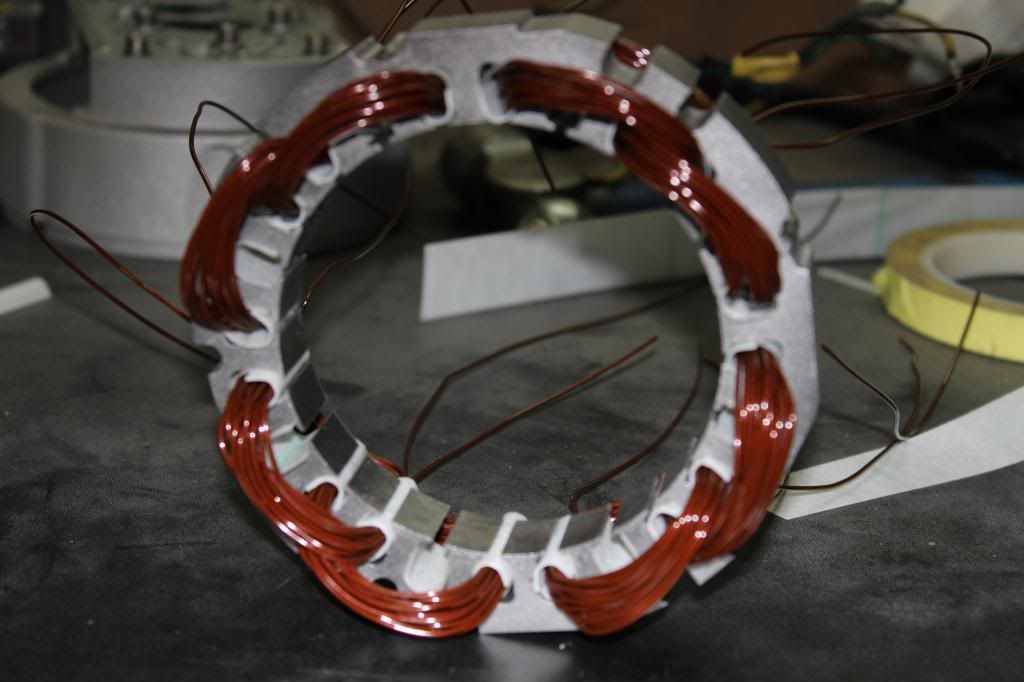
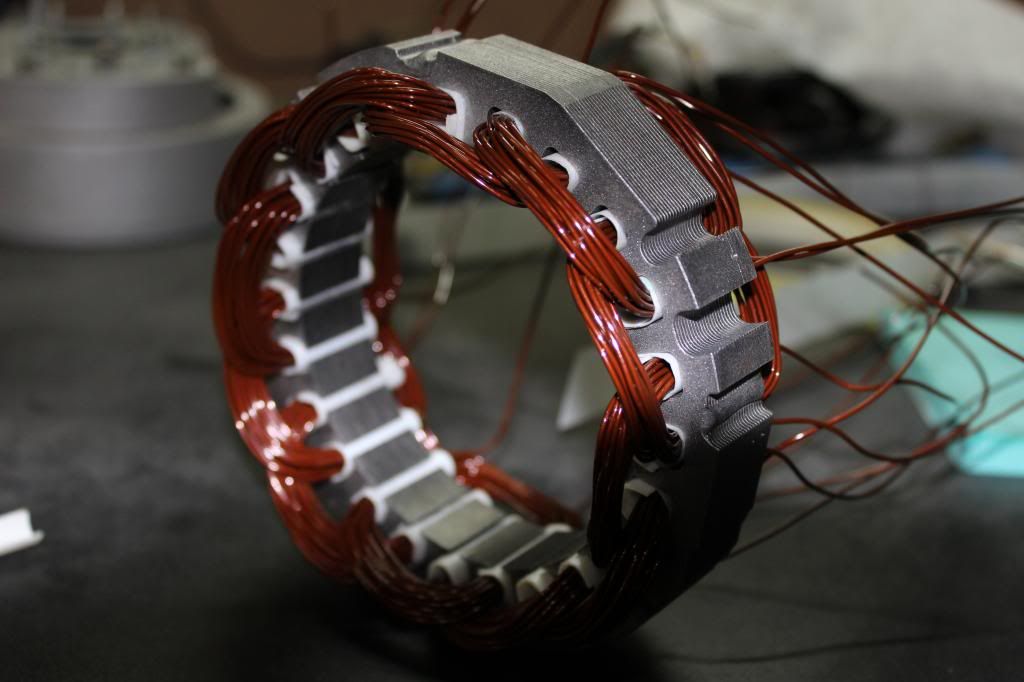
Initially I thought the stator had been machine wound as there was no slot insulation whatsoever, just top wedges to keep the coils in the slots... my initial suspicions were later debunked by counting the turns in all of the coils which had odd number of turns on a few coils and machines either work or not... they don't count
Once determined that the stators were actually hand wound "on the stator" it was easy to see that not only were there uneven turns on certain coils, there was also differing lengths of turns per coil as the first few turns were almost square to the slot and no head extension at all... the two contributing factors to the wide "acceptable" resistance range and typical for the era.
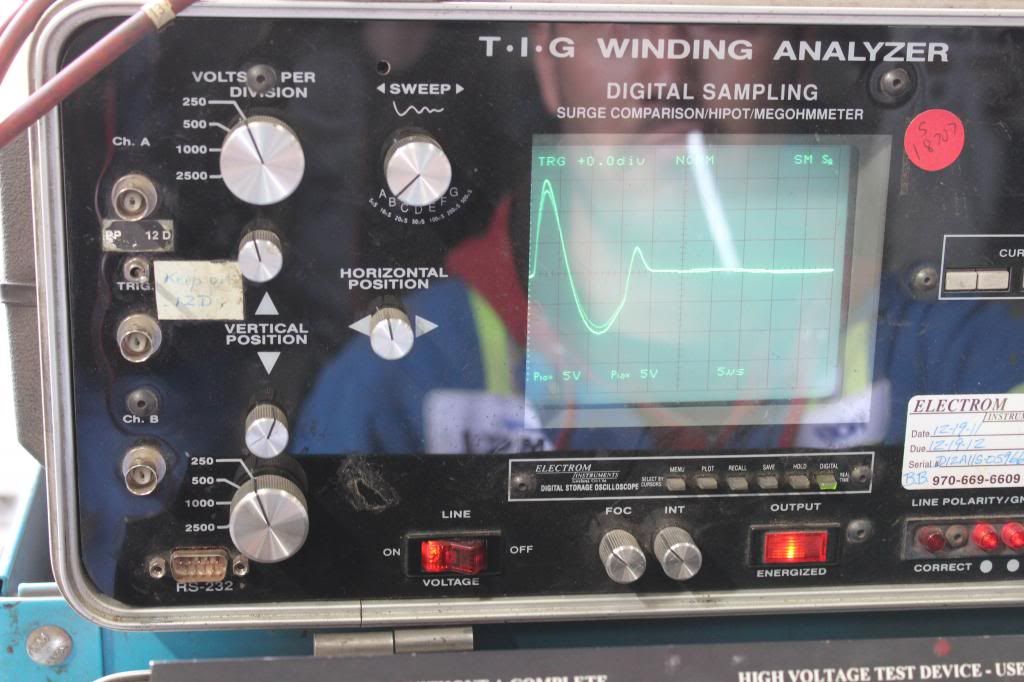
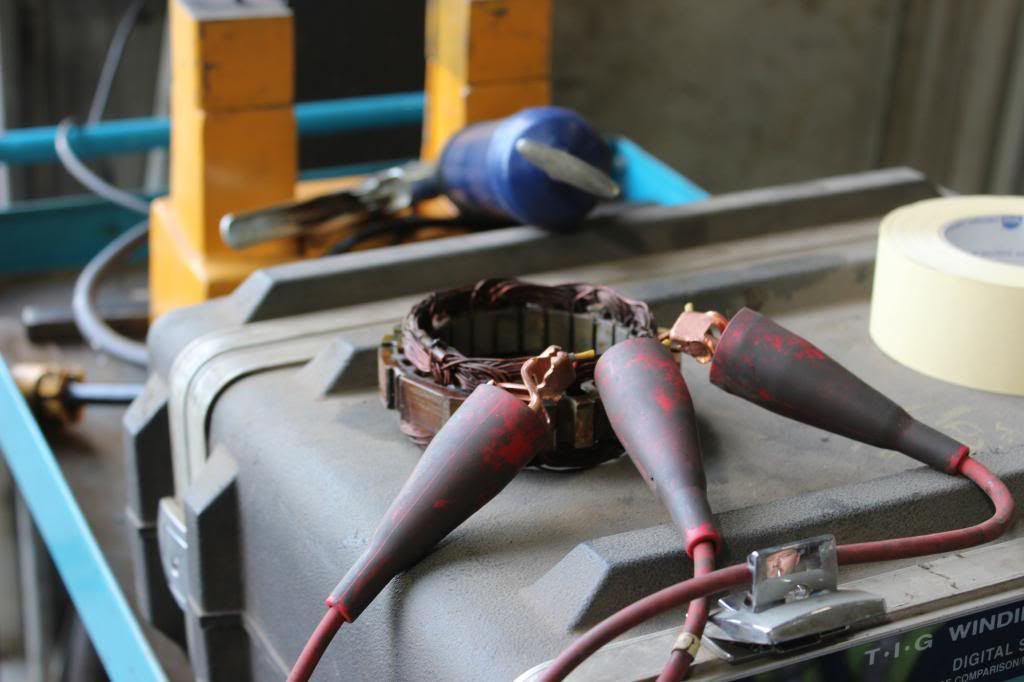
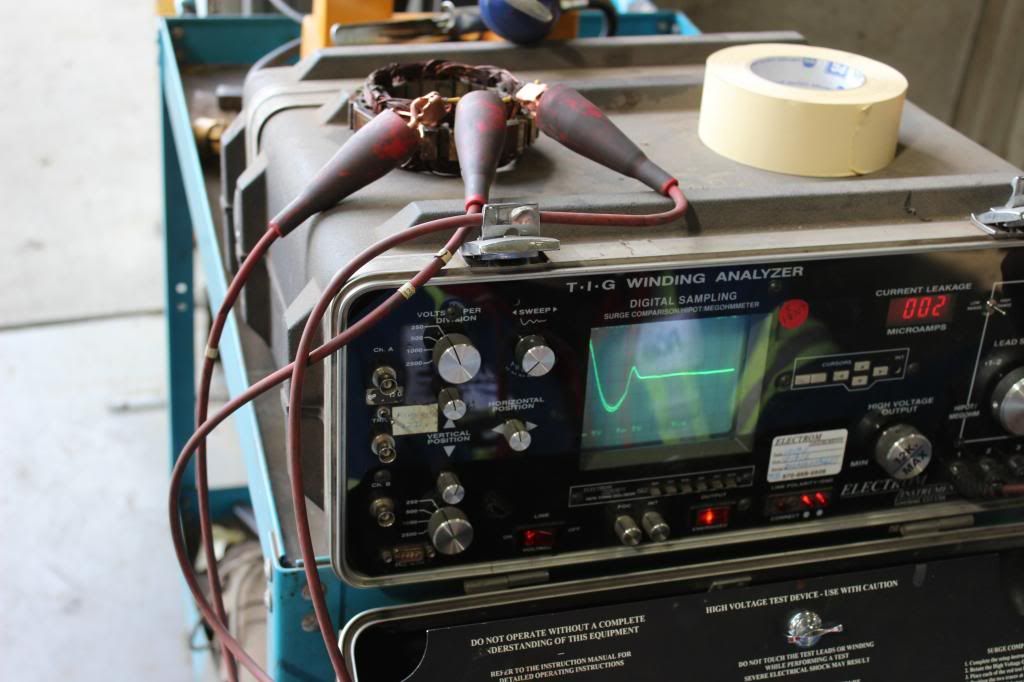
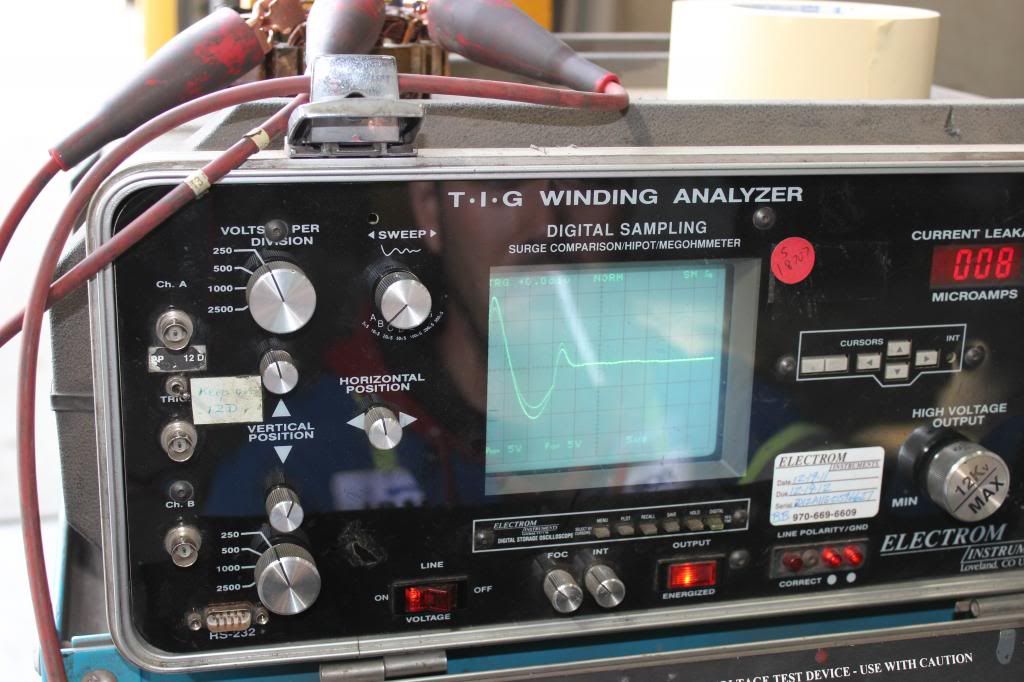
Surge at 250 Volts (lowest we can do) and the fact that there are uneven turns both length and number show up in the phase to phase comparison on the screen and this was the worst one. We always check A-B, B-C, C-A (not always the order, just a reference to the fact that all 3 phases are compared.
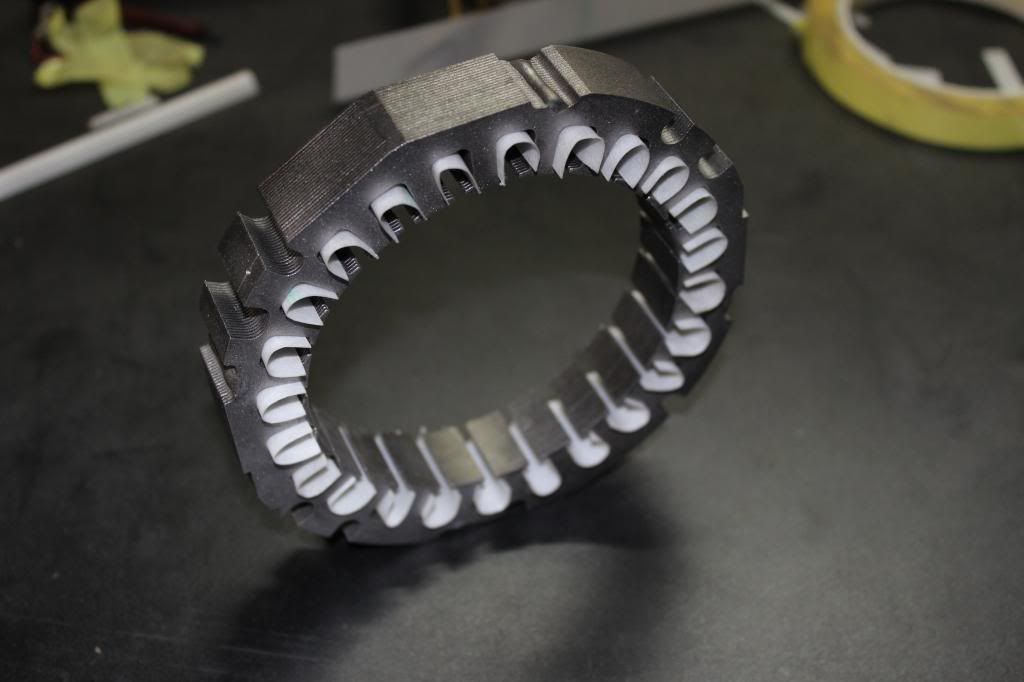
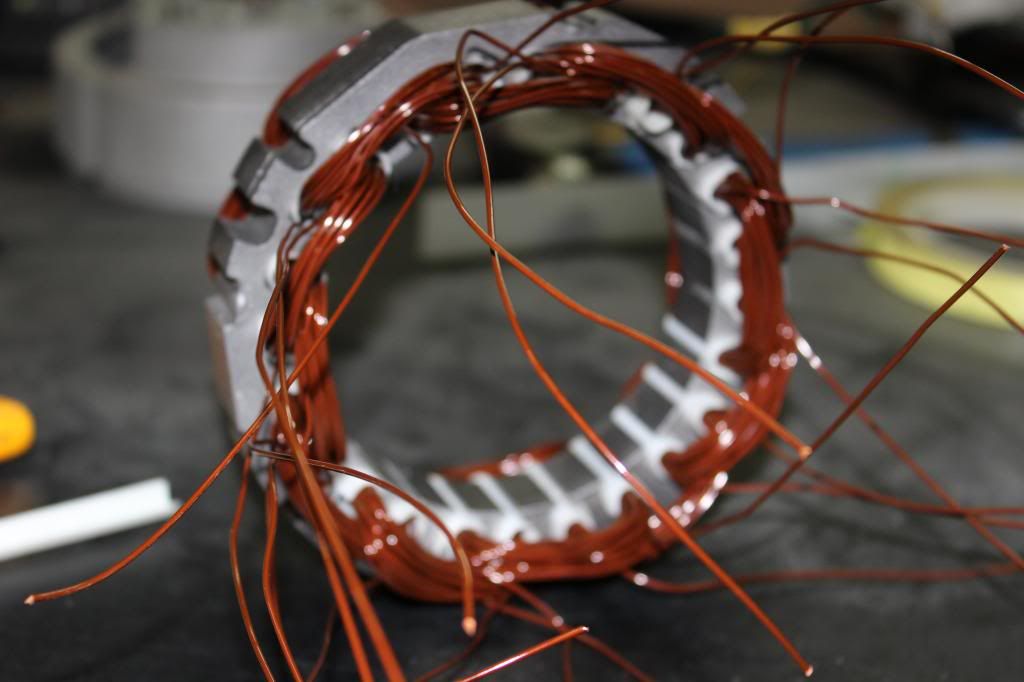
Stator after I hand stripped it (sorry should have got some shots) and just hand cut some Class H slot liners as our 48" insulation shear is a bit of a bear to do this little stuff
Winding information - Corrected from data taken from the original.
Connection: 1 WYE
Number of Slots: 24
Poles: 4 Poles per Phase
Coils: Original wound as 3 groups of 4
Turns per Coil: Corrected to 18
Wire Size: #18
Disclaimer:
Blah, Blah, Blah.... this is a one off... if it blows up you knew the risk
Having said that I can assure Dave that I have made sure that everything exceeds any OEM tolerance with the lowest insulation value being the Class F sleeving and everything else is Class H... the best they had back then was Class B for almost everything and only special apps had anything better.
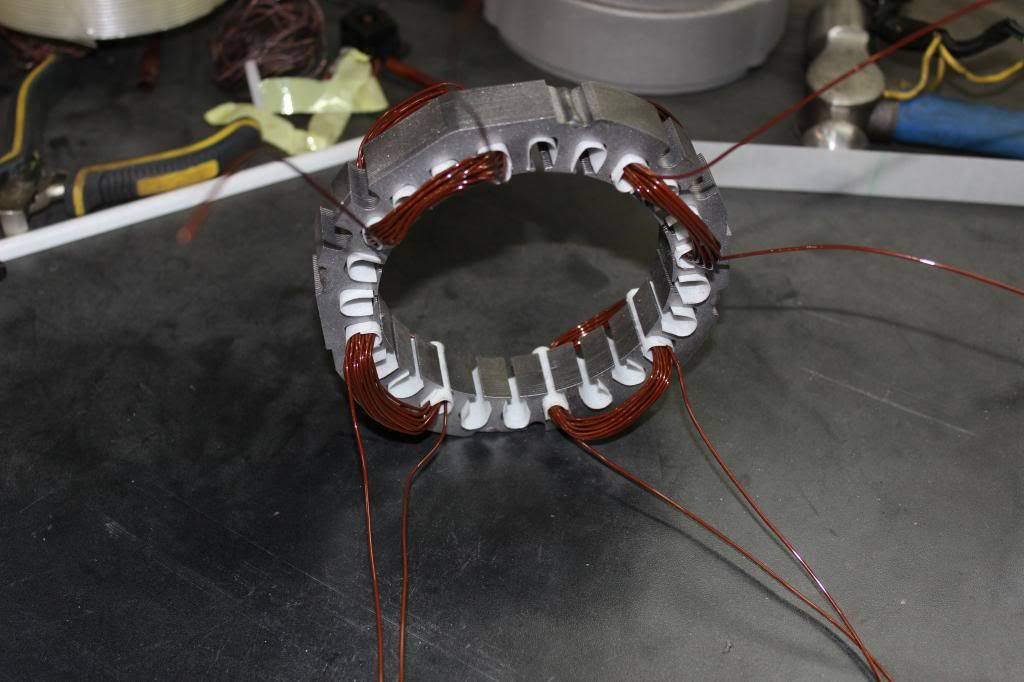
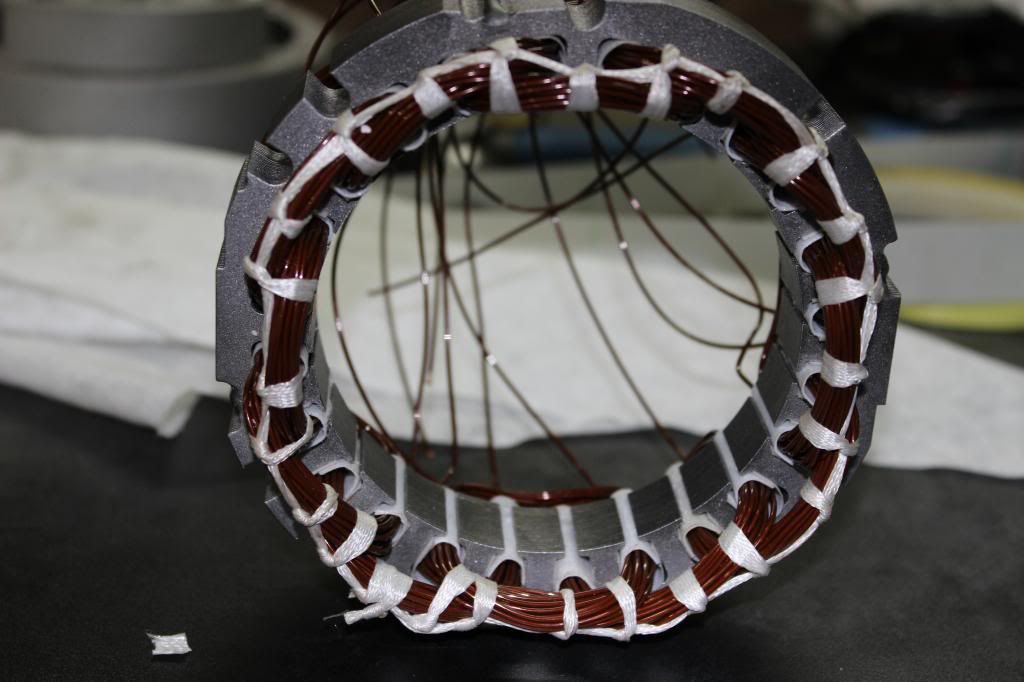
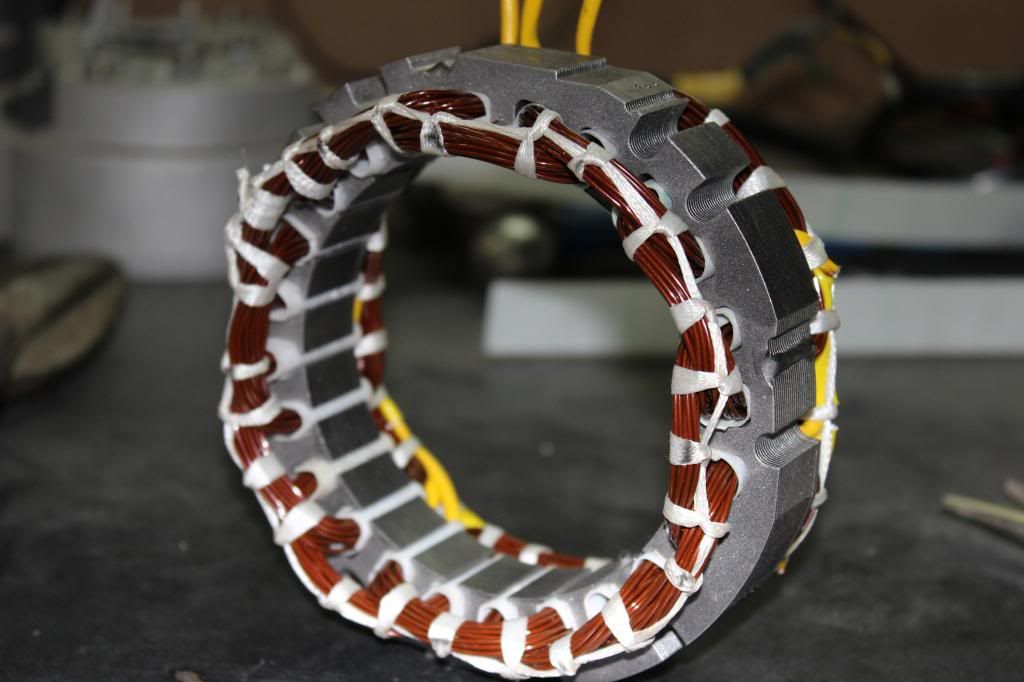
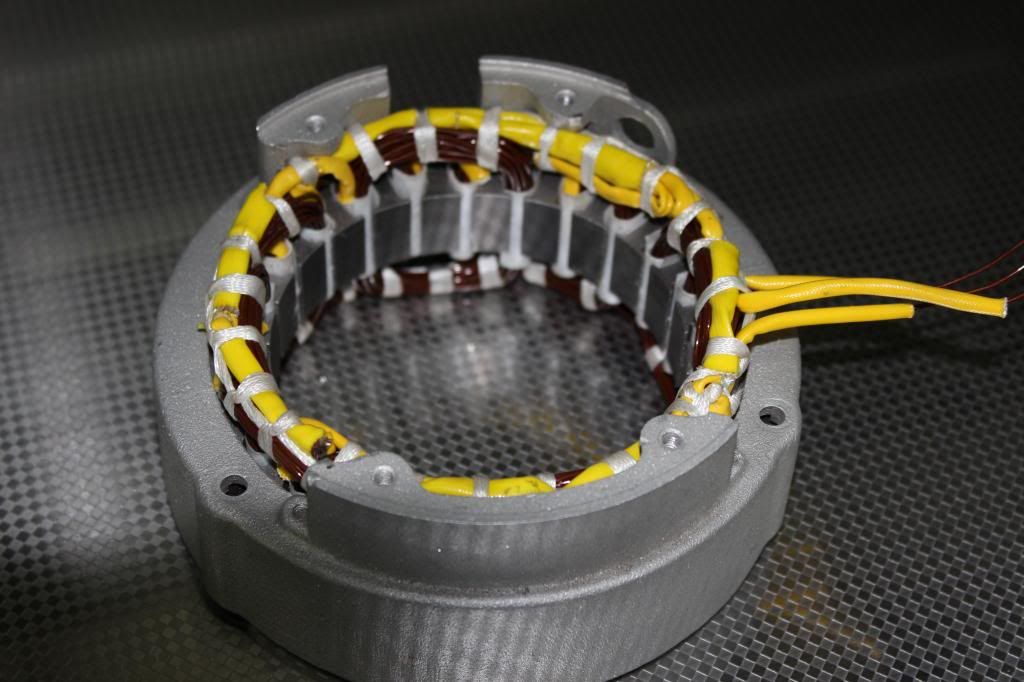
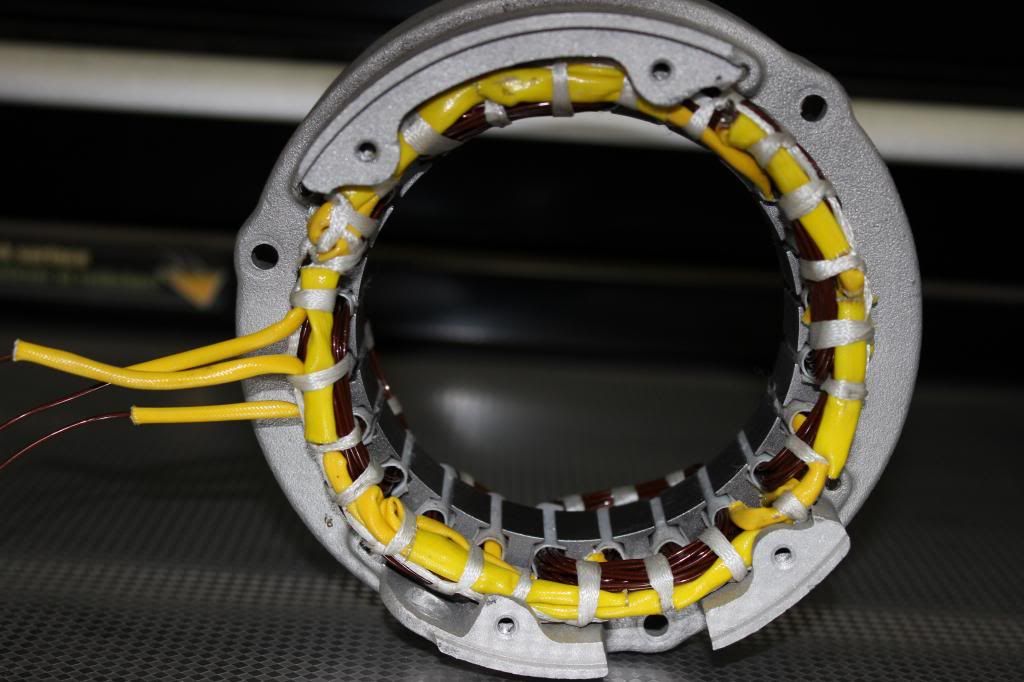
The stator was literally wound back to original as all the original lead locations were stamped on the stator, and below you can see the first phase installed... nice physical representation of 4 poles on one phase. Again all wire used is our standard Class H wire.

Amazed my fingers can still do this shit... small stuff is VERY hard on the fingers.
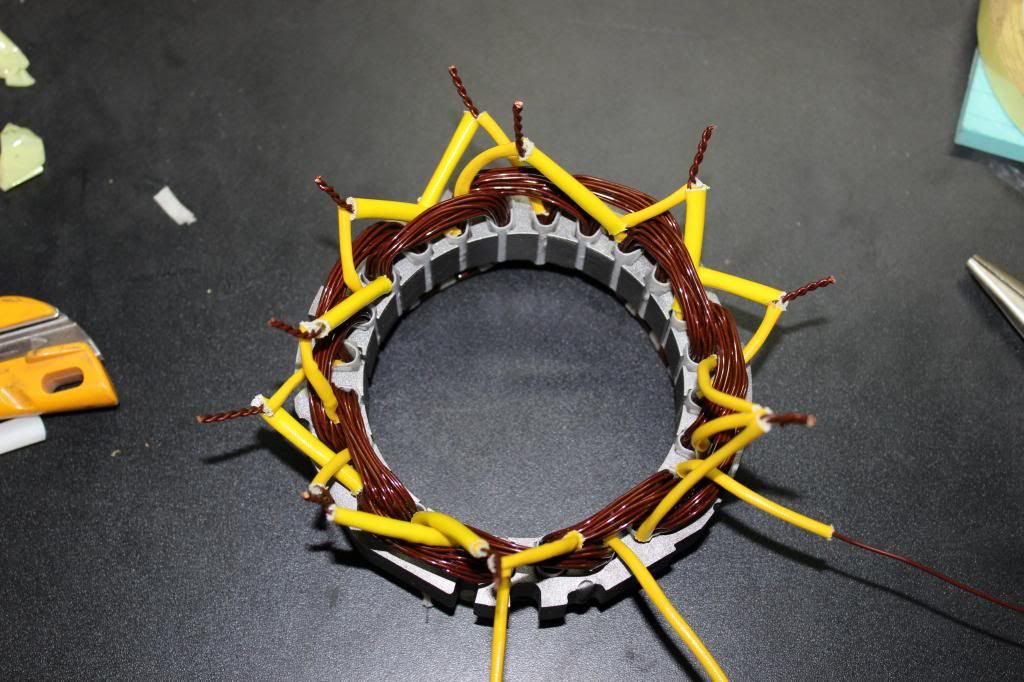
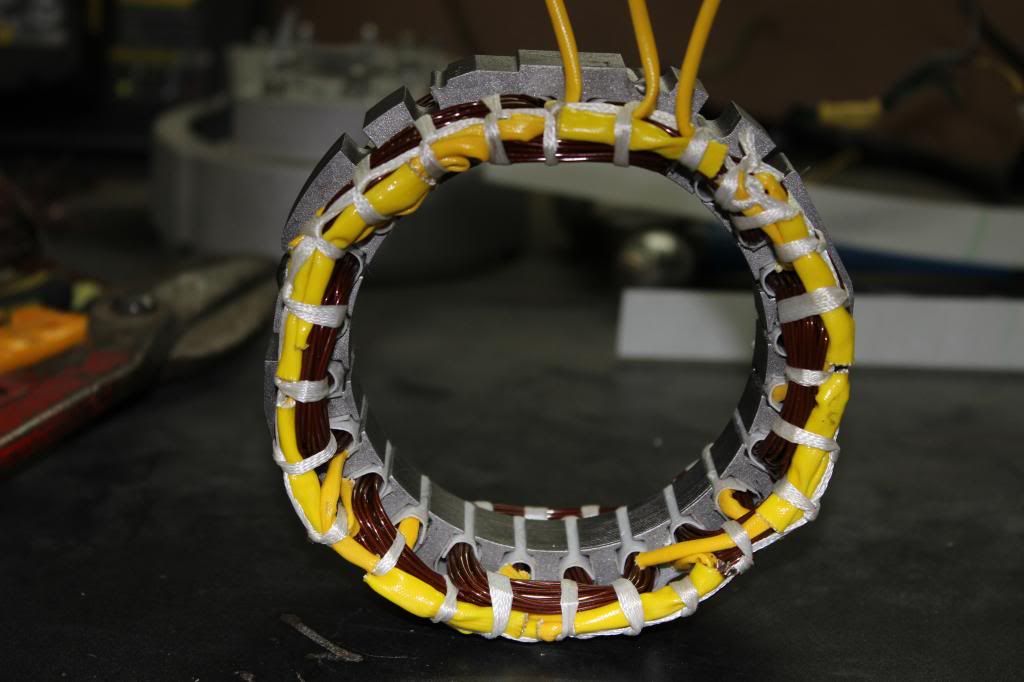
Connection roughed in with sleeving on.
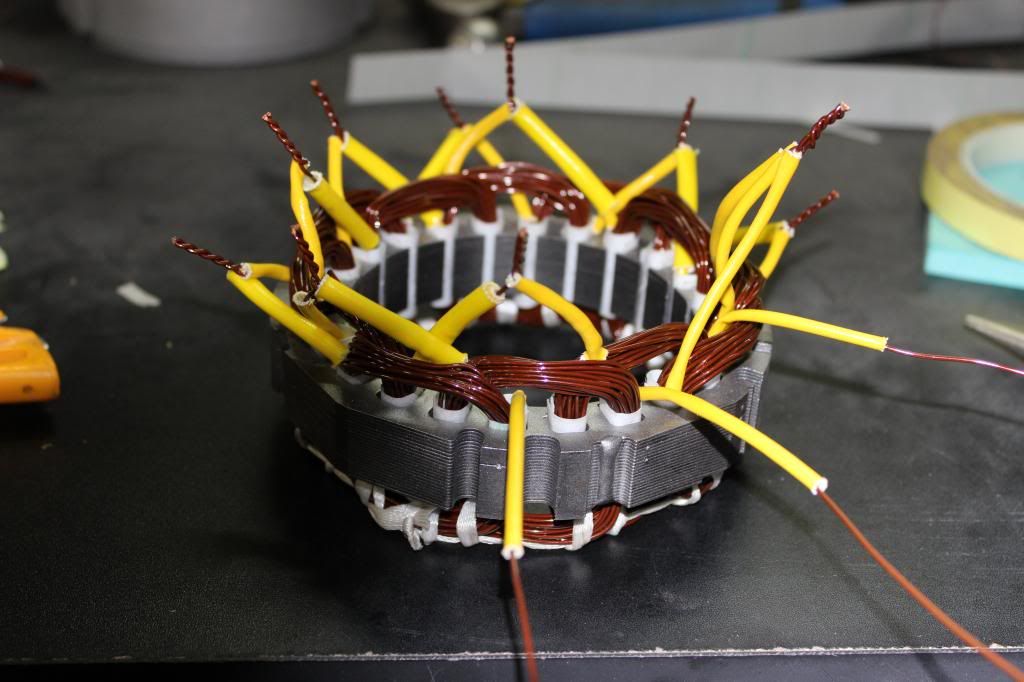
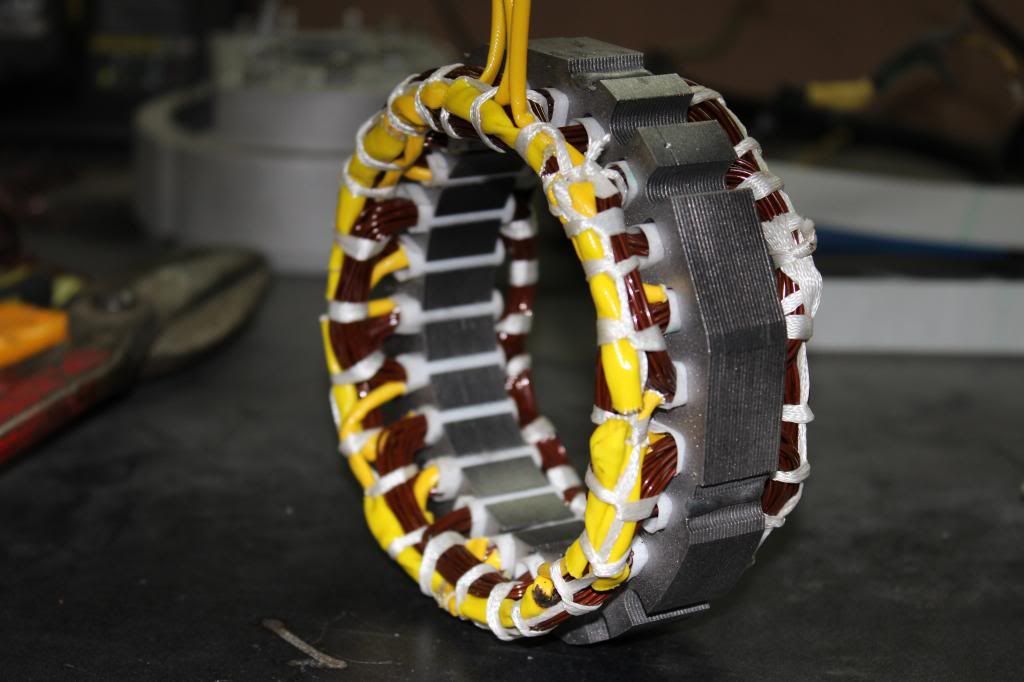
Connections made and secondary sleeving covering the welds.
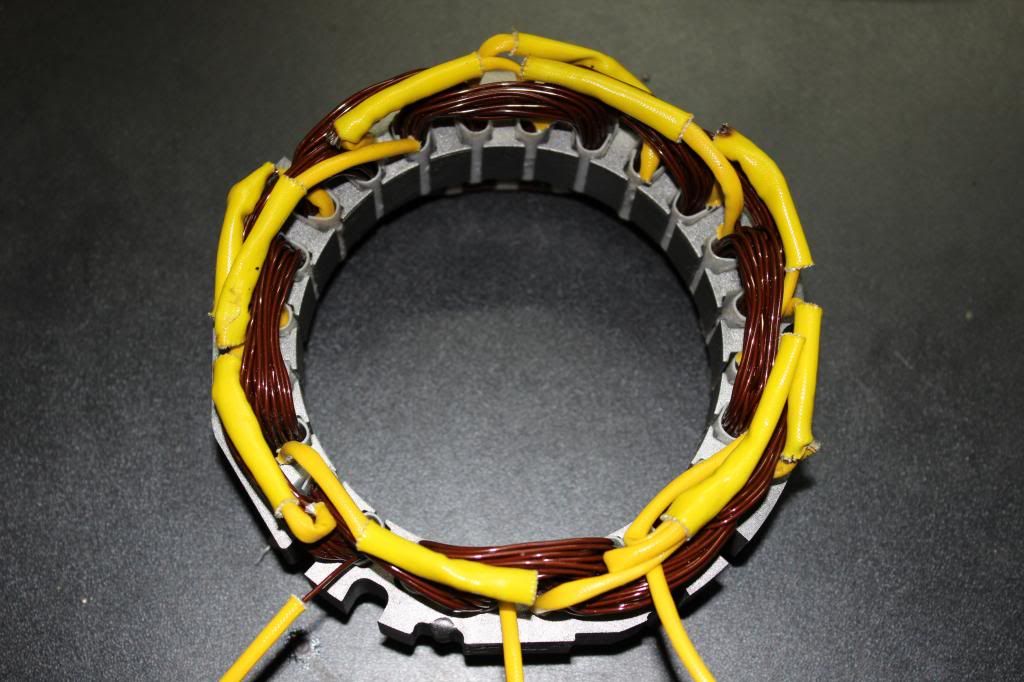
Stator complete and literally better than new... rewind was completed by hand and even the coils were hand wound as we had rush jobs in the shop.
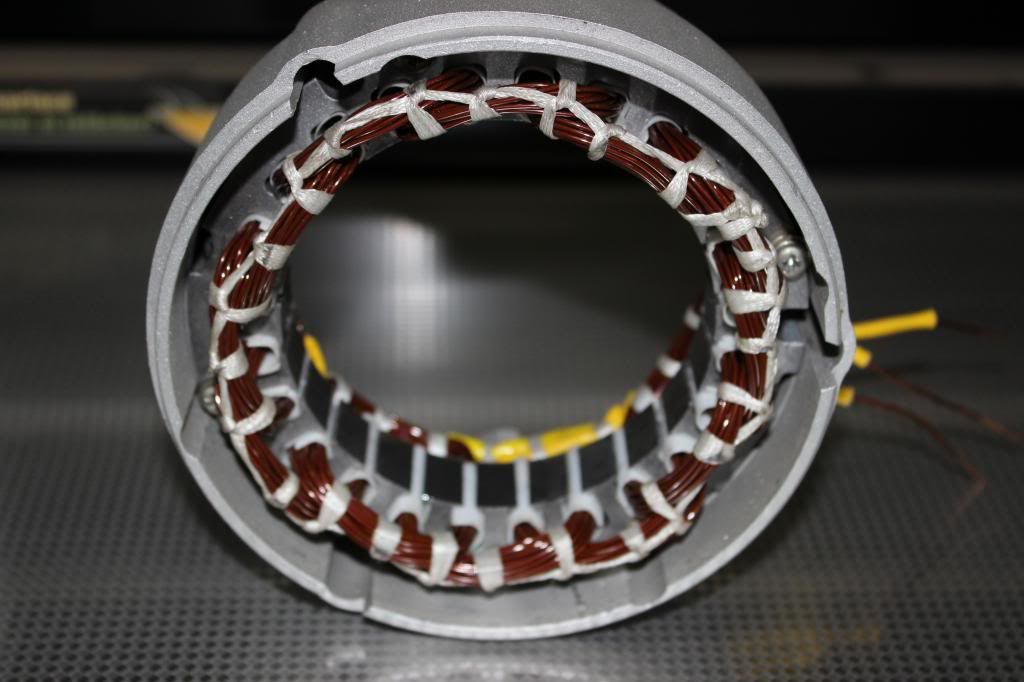
Getting the stator back in the housing was less than fun but perseverence paid off and before dipping the winding Meggered at 31.5 GigaOhms, good to go.
Currently the whole stator is curing in the oven for 10 hours and I'll update the thread from there.
Making good progress though... nice to know you don't forget everything


Initially I thought the stator had been machine wound as there was no slot insulation whatsoever, just top wedges to keep the coils in the slots... my initial suspicions were later debunked by counting the turns in all of the coils which had odd number of turns on a few coils and machines either work or not... they don't count

Once determined that the stators were actually hand wound "on the stator" it was easy to see that not only were there uneven turns on certain coils, there was also differing lengths of turns per coil as the first few turns were almost square to the slot and no head extension at all... the two contributing factors to the wide "acceptable" resistance range and typical for the era.


Surge at 250 Volts (lowest we can do) and the fact that there are uneven turns both length and number show up in the phase to phase comparison on the screen and this was the worst one. We always check A-B, B-C, C-A (not always the order, just a reference to the fact that all 3 phases are compared.

Stator after I hand stripped it (sorry should have got some shots) and just hand cut some Class H slot liners as our 48" insulation shear is a bit of a bear to do this little stuff
Winding information - Corrected from data taken from the original.
Connection: 1 WYE
Number of Slots: 24
Poles: 4 Poles per Phase
Coils: Original wound as 3 groups of 4
Turns per Coil: Corrected to 18
Wire Size: #18
Disclaimer:
Blah, Blah, Blah.... this is a one off... if it blows up you knew the risk

Having said that I can assure Dave that I have made sure that everything exceeds any OEM tolerance with the lowest insulation value being the Class F sleeving and everything else is Class H... the best they had back then was Class B for almost everything and only special apps had anything better.

The stator was literally wound back to original as all the original lead locations were stamped on the stator, and below you can see the first phase installed... nice physical representation of 4 poles on one phase. Again all wire used is our standard Class H wire.


Amazed my fingers can still do this shit... small stuff is VERY hard on the fingers.

Connection roughed in with sleeving on.


Connections made and secondary sleeving covering the welds.


Stator complete and literally better than new... rewind was completed by hand and even the coils were hand wound as we had rush jobs in the shop.


Getting the stator back in the housing was less than fun but perseverence paid off and before dipping the winding Meggered at 31.5 GigaOhms, good to go.
Currently the whole stator is curing in the oven for 10 hours and I'll update the thread from there.
Making good progress though... nice to know you don't forget everything