|
|
Post by givr on May 30, 2010 6:58:41 GMT -5
Yep, love that look! You're doing a truly impressive job bake. You're really raising the bar on a special with the powdercoating and the custom work. Bravo!
|
|
|
|
Post by Walms on May 30, 2010 9:29:51 GMT -5
Wow, looks great! I need to hear some details on the paint  |
|
|
|
Post by bake on May 30, 2010 10:41:23 GMT -5
Wow, looks great! I need to hear some details on the paint Technical it's not paint, just a tint.... post 327 has a little info about the process? What details would you like, if I don't have the answer I will ask Craig. |
|
|
|
Post by bake on May 30, 2010 22:45:06 GMT -5
Took the time to chamfer the holes on the shift drum before cleaning it up. 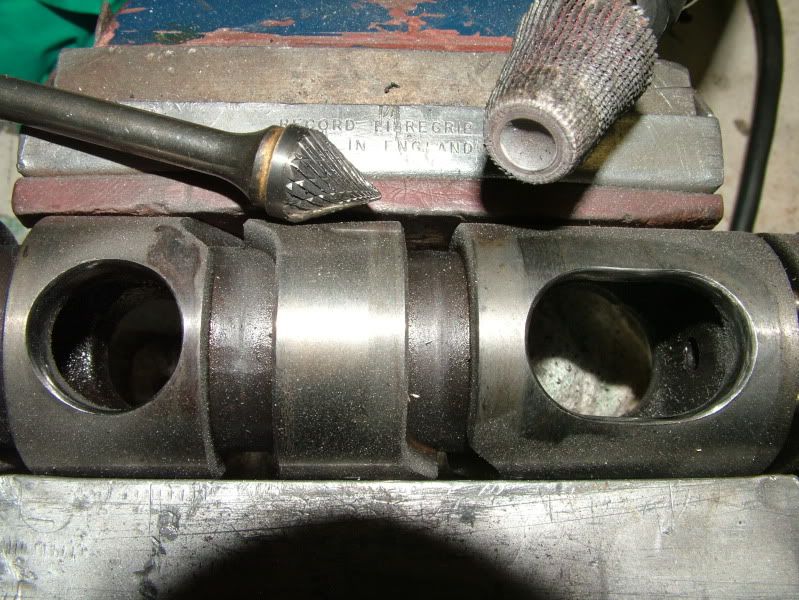 Who sells clutch actuators? I have the spiraling crack of doom. 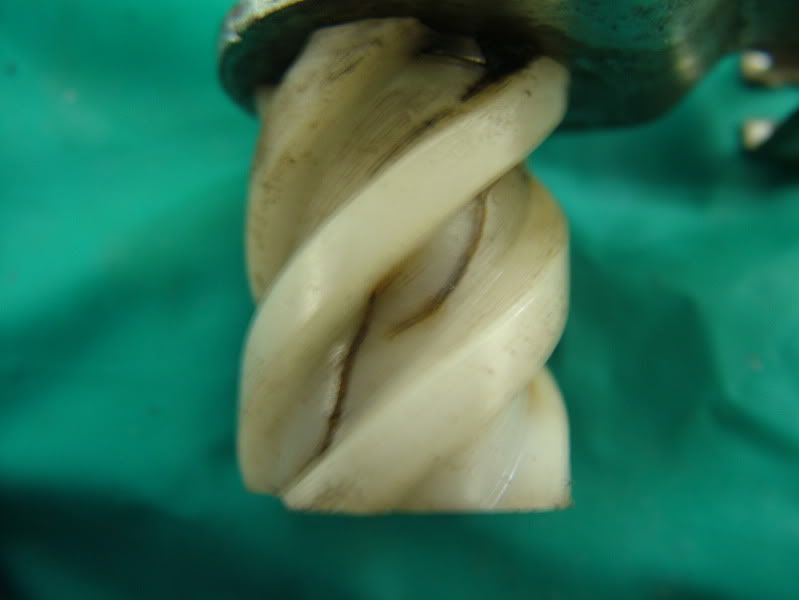 |
|
|
|
Post by bake on Jun 3, 2010 23:27:00 GMT -5
Found another missing part, the spring that operates the shifter so I found one in a junk bin, should I use it or seek the right one? 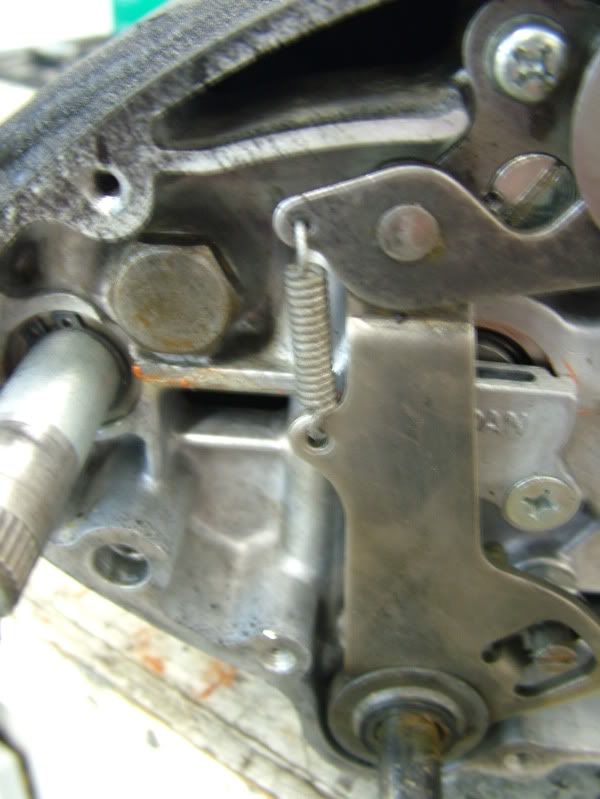 Dennis came over and we took off the front suspension (1 more time) and went over my work as well as added fork oil and started setting up preloads etc. Good thing as I had mixed up the order of assemble on one fork and Dennis had the proper tools to make the job go smooth. Engine is in the bike and shimmed, which leaves me with 1 last issue ... rear sprocket alignment is getting real old but off to the machine shop tomorrow with some ideas. 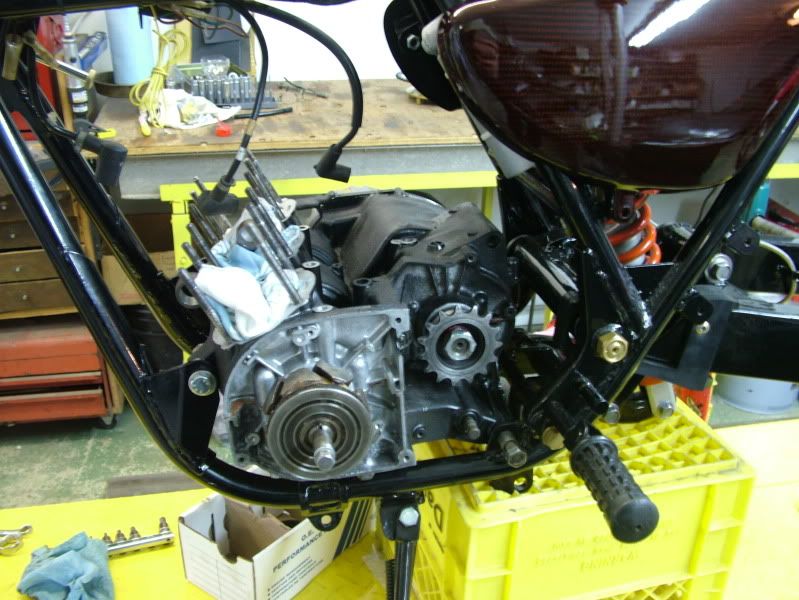 |
|
|
|
Post by JA-Moo on Jun 3, 2010 23:41:25 GMT -5
Found another missing part, the spring that operates the shifter so I found one in a junk bin, should I use it or seek the right one? that is a light spring, I would try to find the correct replacement. |
|
|
|
Post by bake on Jun 5, 2010 22:03:08 GMT -5
Got the finished tank today, cant wait to get this out into the sunshine. Didn't like how the gas cap looked so it's in the powder stripper and will get redone black tomorrow. 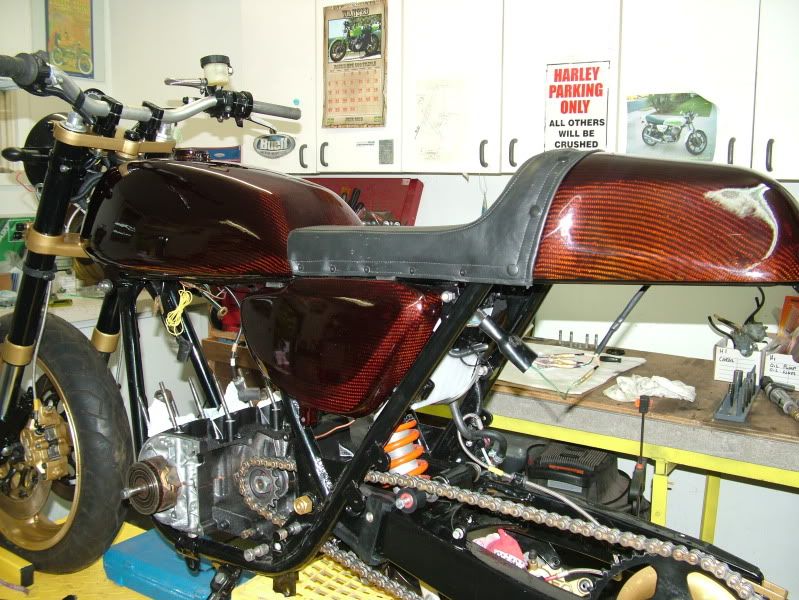 |
|
|
|
Post by North on Jun 6, 2010 0:04:24 GMT -5
|
|
|
|
Post by Walms on Jun 6, 2010 6:39:05 GMT -5
+1 She's lookin great! Shake'n Bake!!!
What do you have re-directing the chain on the top loop?
|
|
|
|
Post by bake on Jun 6, 2010 10:42:16 GMT -5
+1 She's lookin great! Shake'n Bake!!! What do you have re-directing the chain on the top loop? It's a chain roller (tensioner) from a dirtbike... because chain clearance has become a huge issue I was looking at using it as more of a guide. Unfortunately when I took the frame in for welding I had marked where I wanted the frame cut back and reinforced for clearance, he must have burned off the top mark and guessed (he guessed a few inches to low) then I had the frame powder coated to find out on final assembly the clearance is not enough. I am struggling with recutting the frame and trying to patch the powder coat after welding burns the paint or trying to get that illusive 10mm off the wheel which is not as easy as it sounds. |
|
|
|
Post by North on Jun 7, 2010 5:47:11 GMT -5
What about using a sealed bearing with a aluminum plug drilled out for the bolt and then machine another aluminum sleeve for the O.D. to the right diameter for your needs? The O.D. sleeve could be machined to have shoulders on either side and make it size for size [I.D. of the sleeve to the O.D. of whatever bearing you choose] and then just press it on with loctite? Sorry best I got this early  |
|
|
|
Post by bake on Jun 7, 2010 21:43:39 GMT -5
North, good idea..... I'm a little leery of using that thing I got. Hopefully my new tire (160- 60 instead of the 180- 50) will be here and mounted soon and that will answer a lot of questions for me.
|
|
|
|
Post by North on Jun 8, 2010 0:58:01 GMT -5
 North, good idea..... I'm a little leery of using that thing I got. Hopefully my new tire (160- 60 instead of the 180- 50) will be here and mounted soon and that will answer a lot of questions for me. I get lucky sometimes in the morning... it's hit or miss I should note that I meant steel [or whatever your preference] for the O.D. sleeve as I'm sure you already knew anyway Morning brain fart ftw! hehe
|
|
|
|
Post by bake on Jun 9, 2010 22:45:53 GMT -5
Carb time... 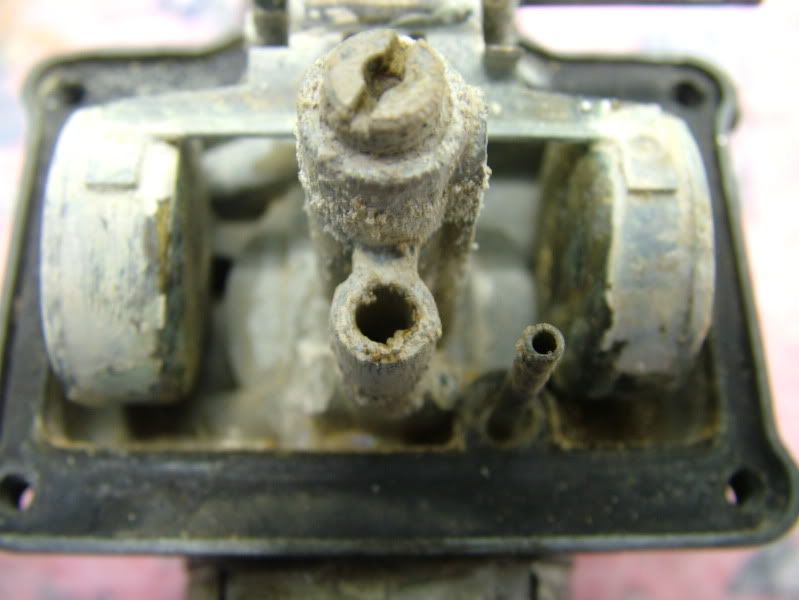 Soaked in Pinesol for 24 hrs then scrubbed and or buffed and new carb kits installed (I now see a piece of schmotz attached to the carb body that I better tend to)  Made this polishing wheel for the drill press out of scrub pads and a bolt, it's pretty effective. 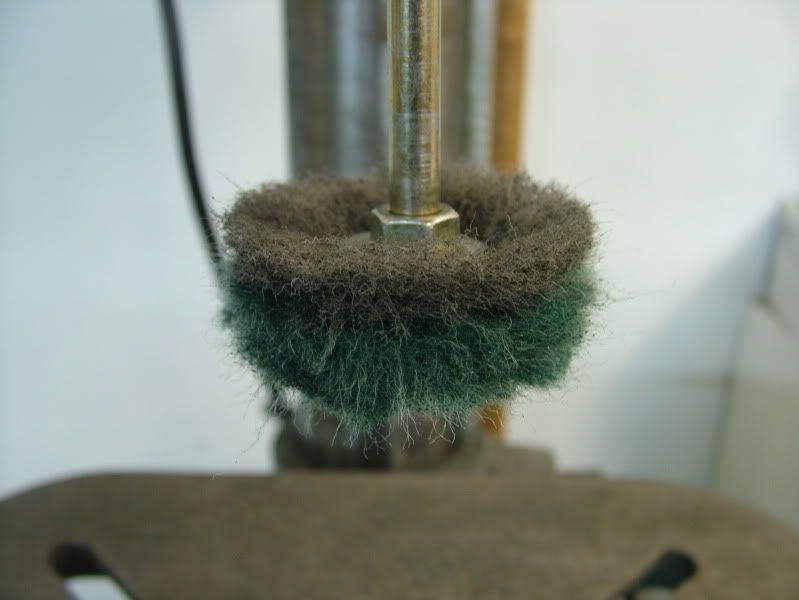 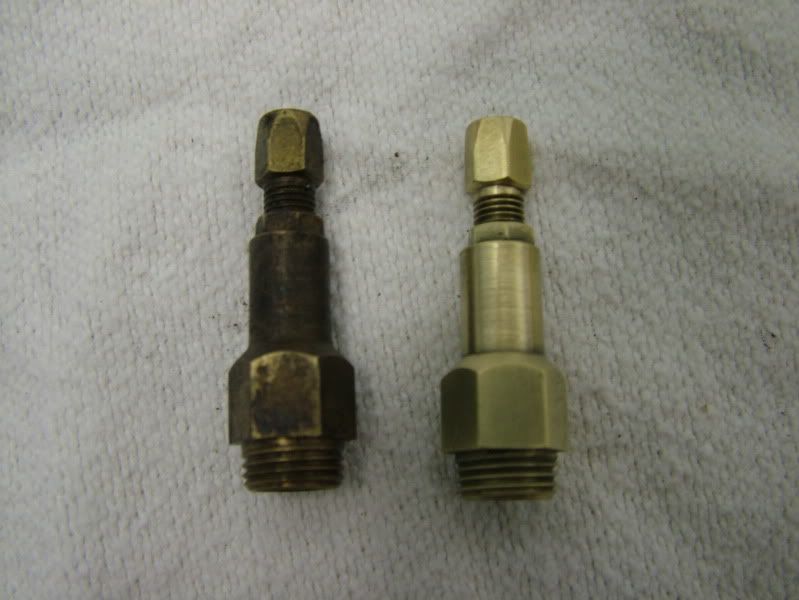 Cant figgure what the center pin is for in the Sudco kit, the one on the right is the float pin which is longer and thicker.... was confused about the spring also but just before I closed the door to the garage I spotted the old springs on the choke plungers and they match. 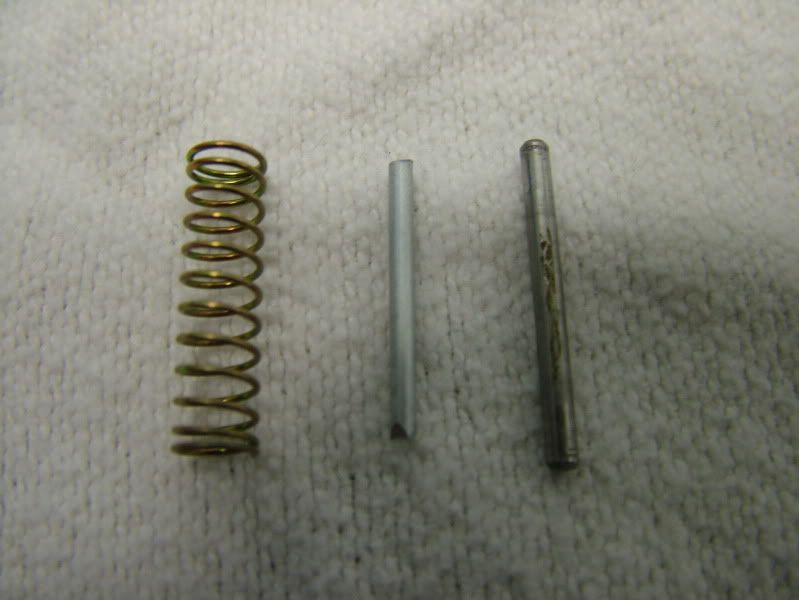 Now how do you clean out the choke plunger hole without damaging it? 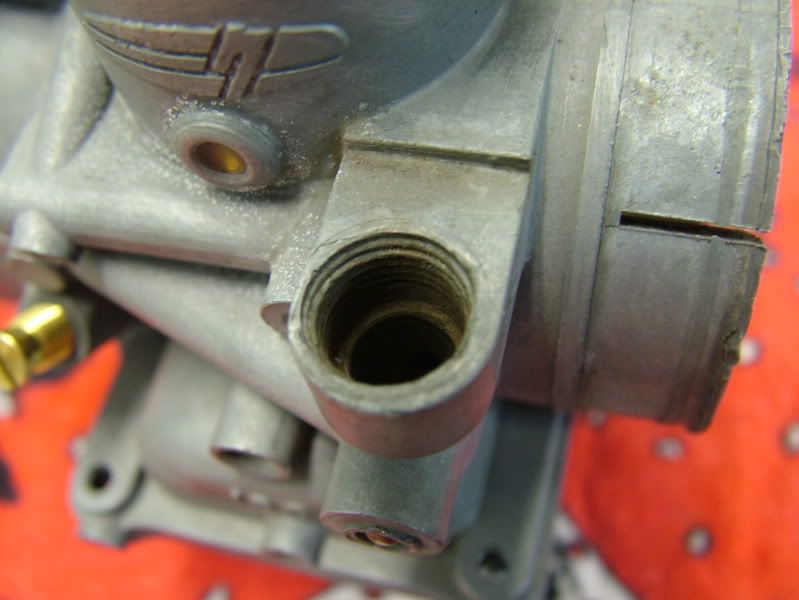 |
|
|
|
Post by III on Jun 9, 2010 23:00:19 GMT -5
I just soaked my carb bodies in the Behrs concrete etcher and they came out sweet. Cleaned the plunger holes out just fine too.   Take all the brass out you can before using this method. Nevrdull preserves the natural metal look. III |
|


