
Post by ballvo on May 19, 2015 11:17:32 GMT -5
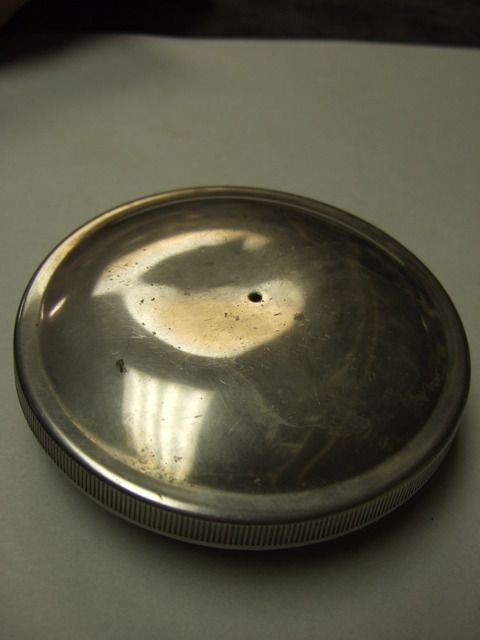
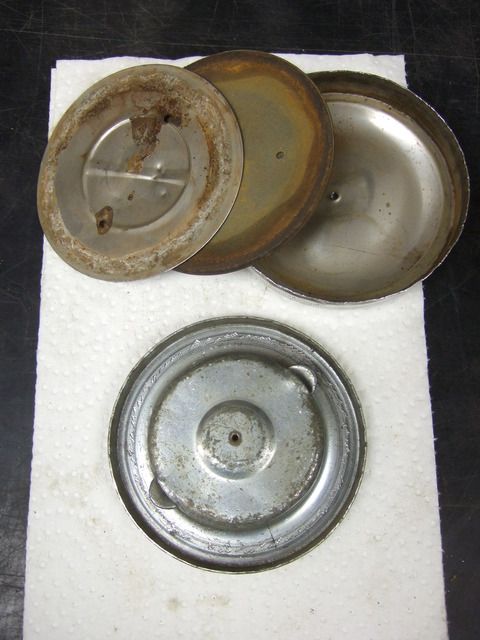
Original, early H1 gas caps are not that easy to come by in good, usable condition. I've got a few kicking around with assorted size dents so I thought I'd sacrifice one and see if I could restore, or at least repair it, to the point of being able to use it again:
Wasn't too difficult to get it apart, just took a bit of patience and an assortment of hand tools.
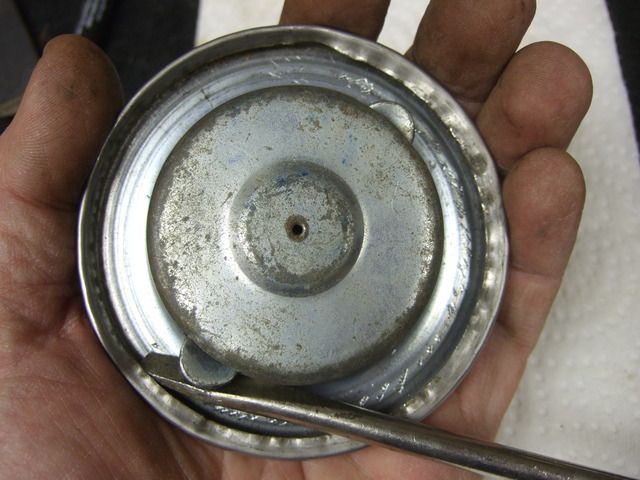
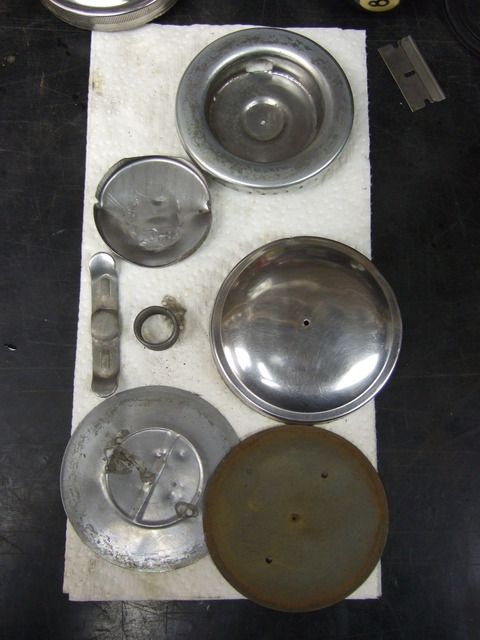
Once the rim was unfolded it comes apart like this:
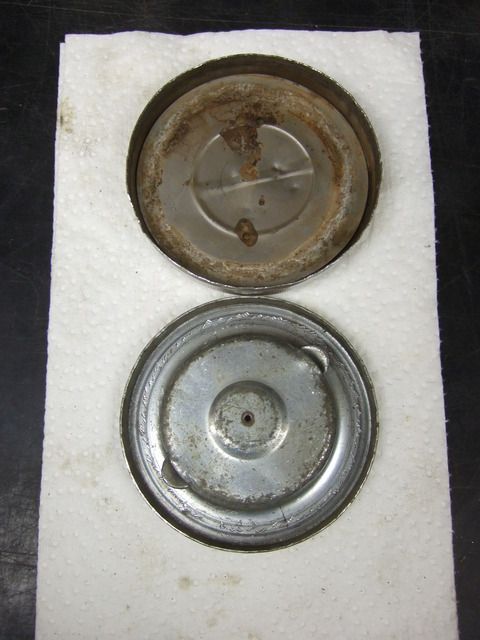
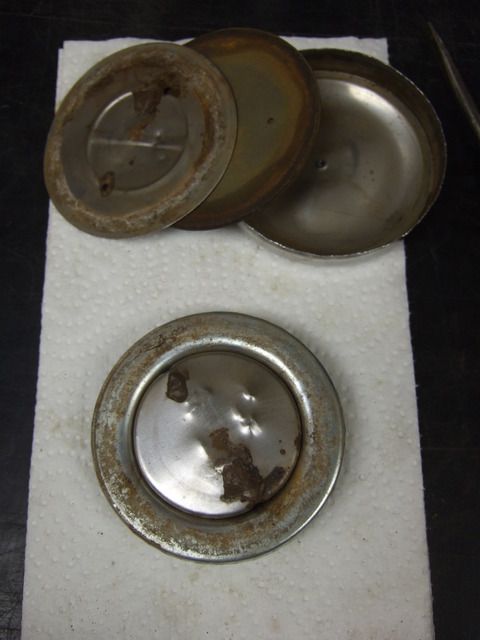
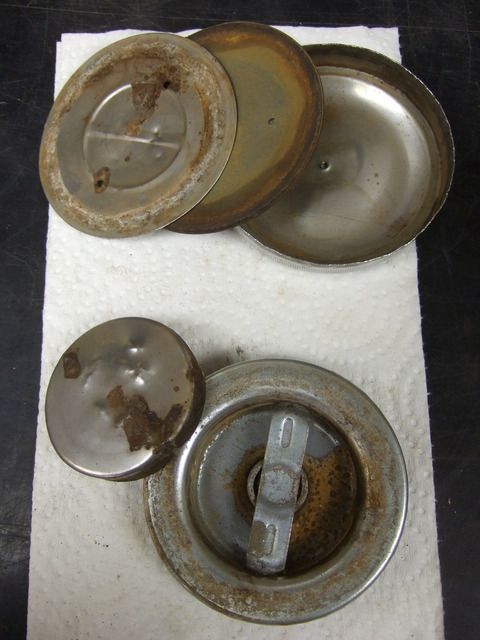
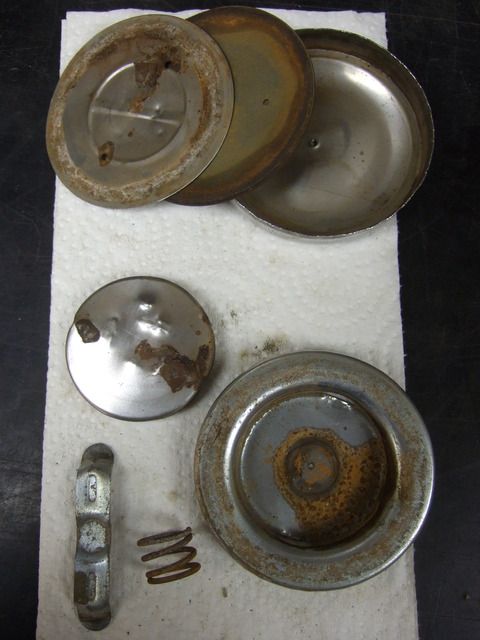
After a bath in Evaporust and working out the dent in the SS cap (with the 8-ball at top of pic) here's where I was at:
I knew getting the thing back together and still looking OK was going to be the challenge. First, there is a bit of spring tension on the innards, trying to push it out of the cap. The cap can't be worked on inverted on a hard surface for fear of putting in a new dent. And finally, two hands just aren't enough to hold the cap (with spring compressed), and a hammer, and a punch, and ....
Even though it's relatively thin, the stainless steel of the outer cap is quite difficult to bend. It requires some serious wailing at with a hammer and punch. For this I needed the cap to be held stationary, but without any pressure point on the cap surface itself, or the outside edge since I didn't want to leave tool marks on that striated surface.
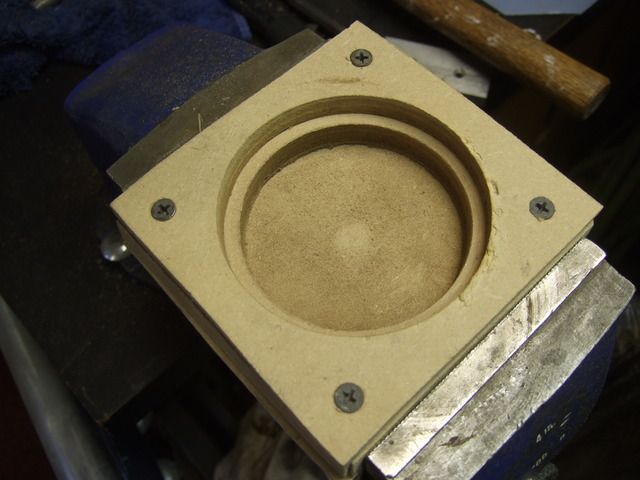
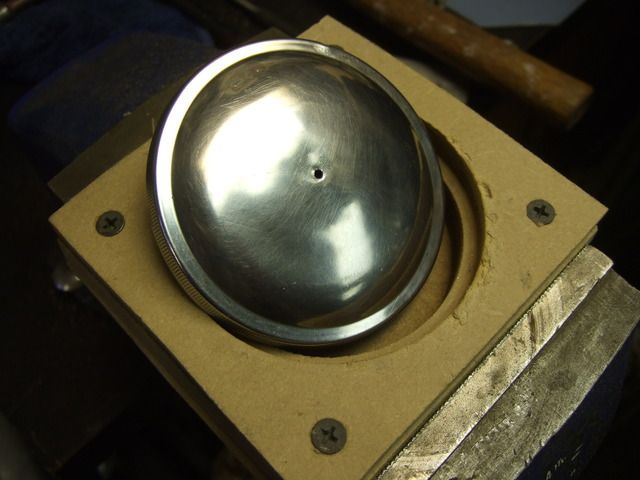
Medium density fiberboard (MDF) to the rescue. You'll notice the polished cap has about a 5mm flat rim around the outer edge, and I used this to good effect when I made my gascap jig. I took a few measurements and went to town with the adjustable hole saw I recently picked up at PA. Here's the jig I made:
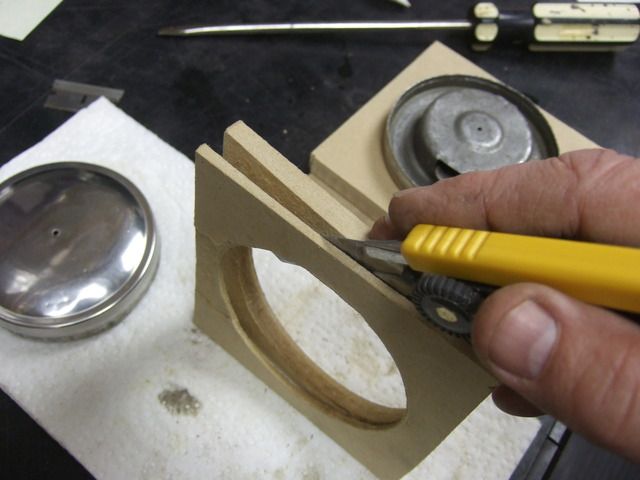
The upper layer of MDF was a bit too thick since I needed the portion of the cap to be bent back inside to extend above the edge of the jig. Simple solution:

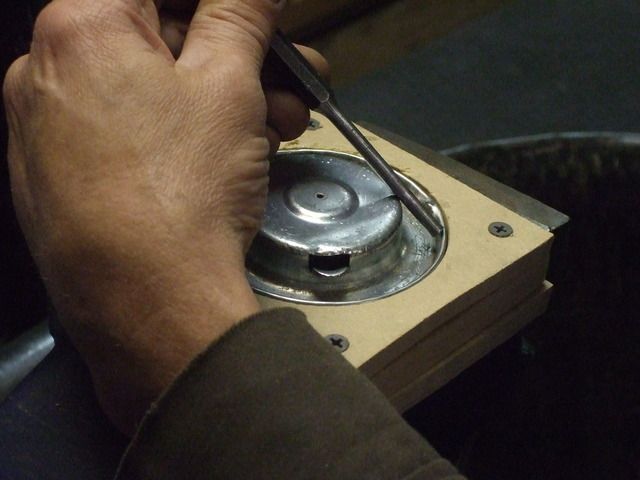
The jig was mounted in a vise and there was plenty of (soft) support/resistance to start hammering away without doing any damage to the top or outside edge of the cap.
The new caveman crimp isn't perfect, but it's not visible either, when the cap is in use. There are a series of tool marks from both disassembly and reassembly but these are mostly hidden beneath the rubber gasket when it's installed.
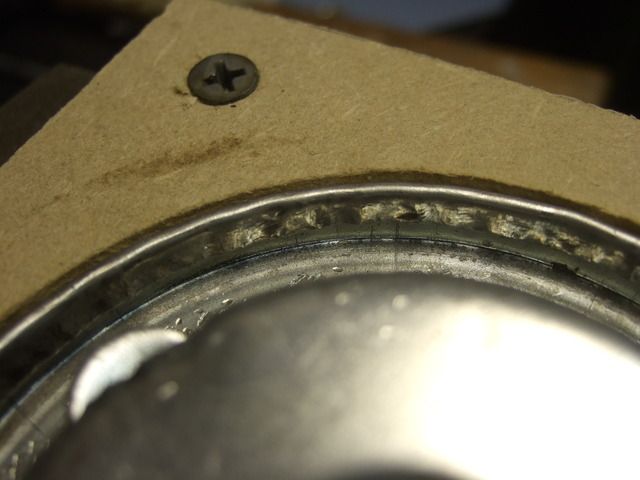
Again, it's not perfect but I'm happy cause now I have two "new" gascaps instead of a couple of paperweights.
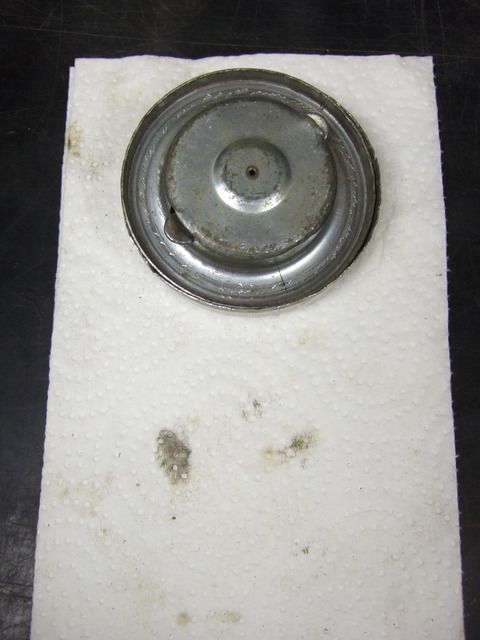
The cap in the top of the next photo is the before image of the finished cap coming out of the jig, above. The bottom one shown is the first one I did (first picture in this post is the before shot).
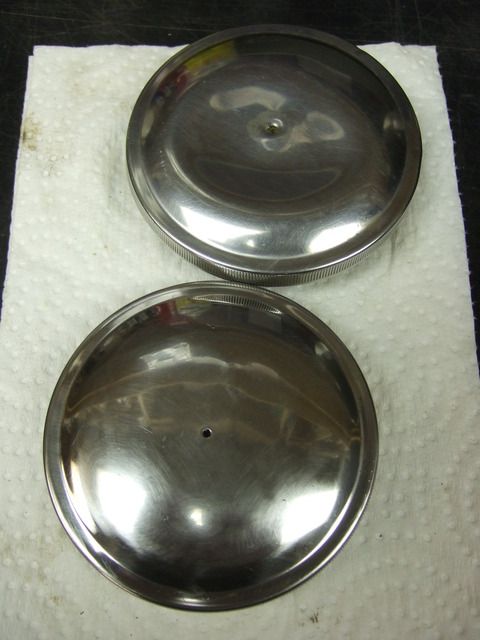
Thought I'd post this since I haven't seen this repair outlined on any of the forums...
Cheers,
Neil

Wasn't too difficult to get it apart, just took a bit of patience and an assortment of hand tools.

Once the rim was unfolded it comes apart like this:


After a bath in Evaporust and working out the dent in the SS cap (with the 8-ball at top of pic) here's where I was at:

I knew getting the thing back together and still looking OK was going to be the challenge. First, there is a bit of spring tension on the innards, trying to push it out of the cap. The cap can't be worked on inverted on a hard surface for fear of putting in a new dent. And finally, two hands just aren't enough to hold the cap (with spring compressed), and a hammer, and a punch, and ....
Even though it's relatively thin, the stainless steel of the outer cap is quite difficult to bend. It requires some serious wailing at with a hammer and punch. For this I needed the cap to be held stationary, but without any pressure point on the cap surface itself, or the outside edge since I didn't want to leave tool marks on that striated surface.
Medium density fiberboard (MDF) to the rescue. You'll notice the polished cap has about a 5mm flat rim around the outer edge, and I used this to good effect when I made my gascap jig. I took a few measurements and went to town with the adjustable hole saw I recently picked up at PA. Here's the jig I made:

The upper layer of MDF was a bit too thick since I needed the portion of the cap to be bent back inside to extend above the edge of the jig. Simple solution:


The jig was mounted in a vise and there was plenty of (soft) support/resistance to start hammering away without doing any damage to the top or outside edge of the cap.

The new caveman crimp isn't perfect, but it's not visible either, when the cap is in use. There are a series of tool marks from both disassembly and reassembly but these are mostly hidden beneath the rubber gasket when it's installed.

Again, it's not perfect but I'm happy cause now I have two "new" gascaps instead of a couple of paperweights.

The cap in the top of the next photo is the before image of the finished cap coming out of the jig, above. The bottom one shown is the first one I did (first picture in this post is the before shot).

Thought I'd post this since I haven't seen this repair outlined on any of the forums...
Cheers,
Neil


 .
.


